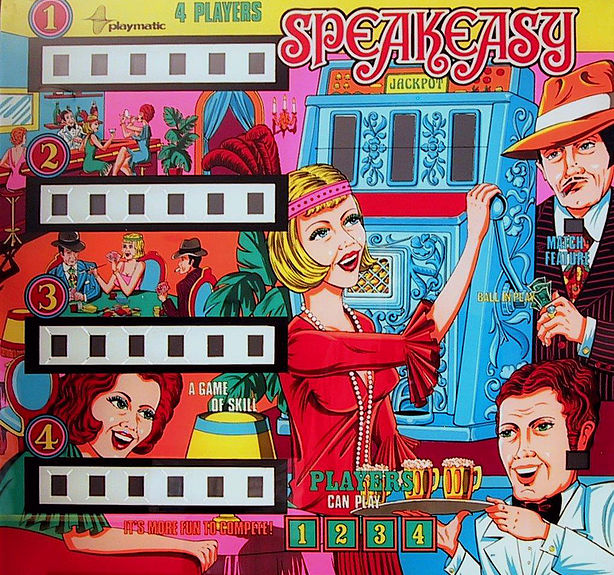
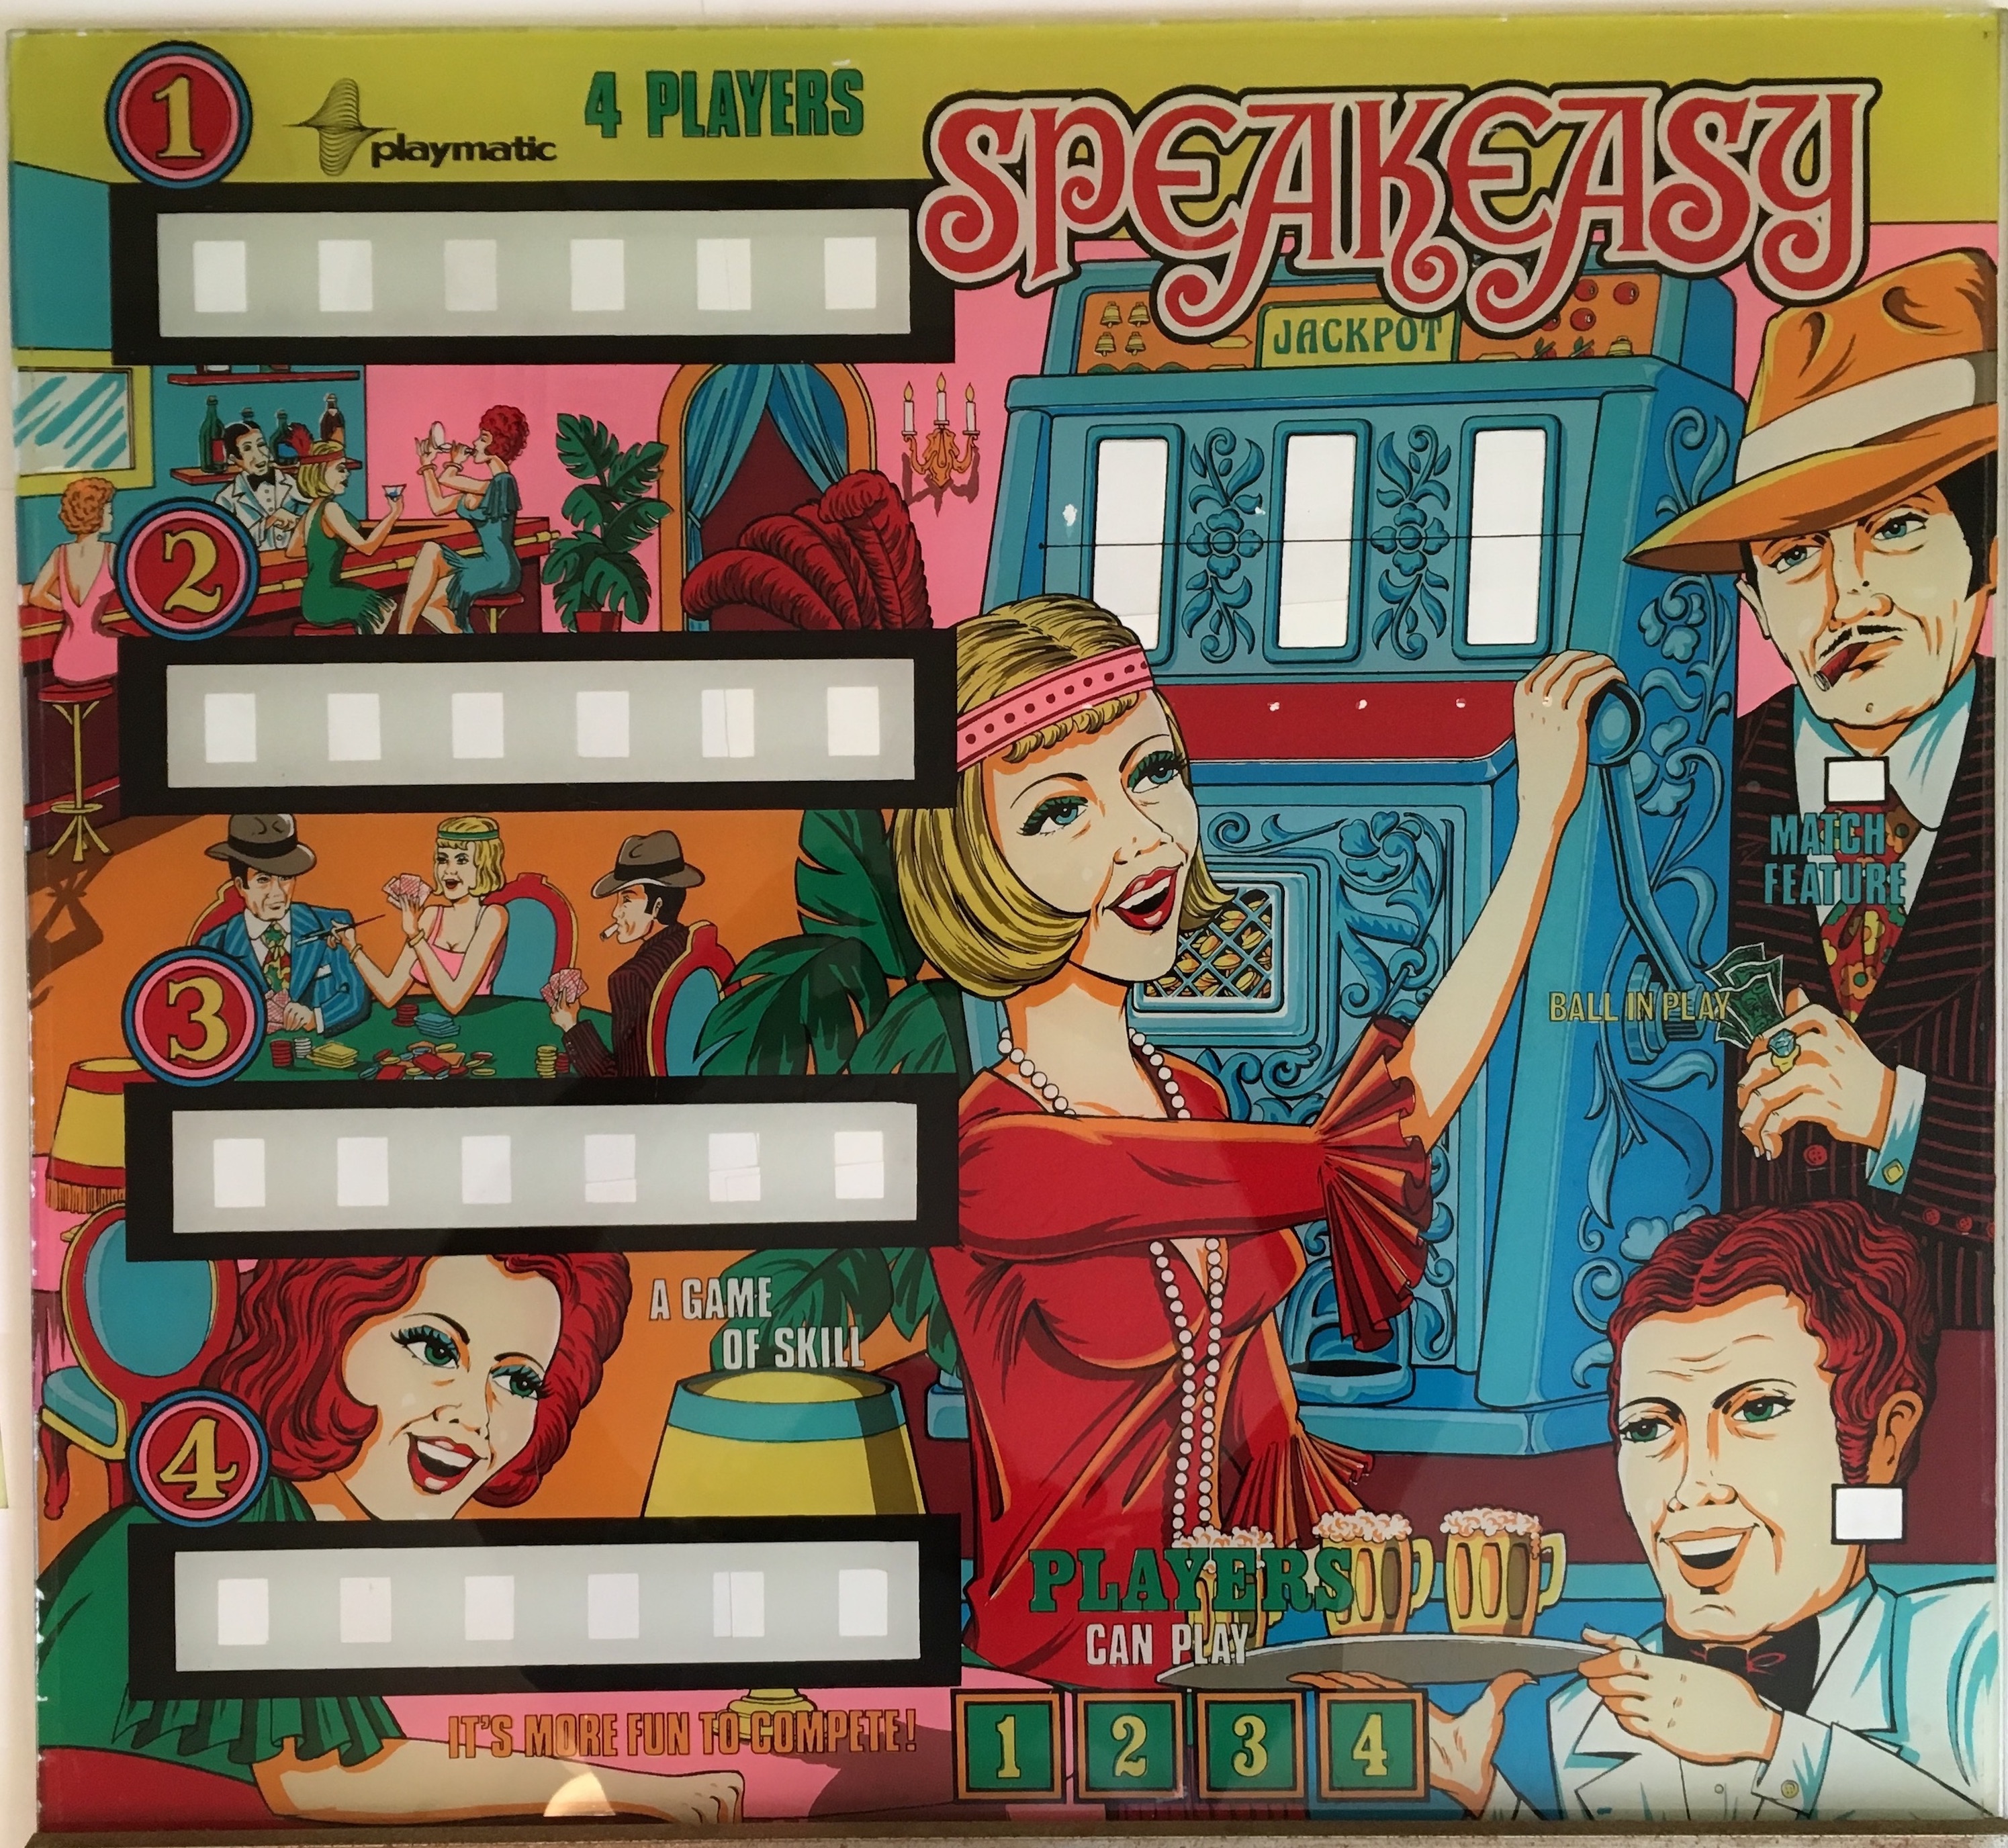
The Backglass of this pinball machine is supposed to look like this:
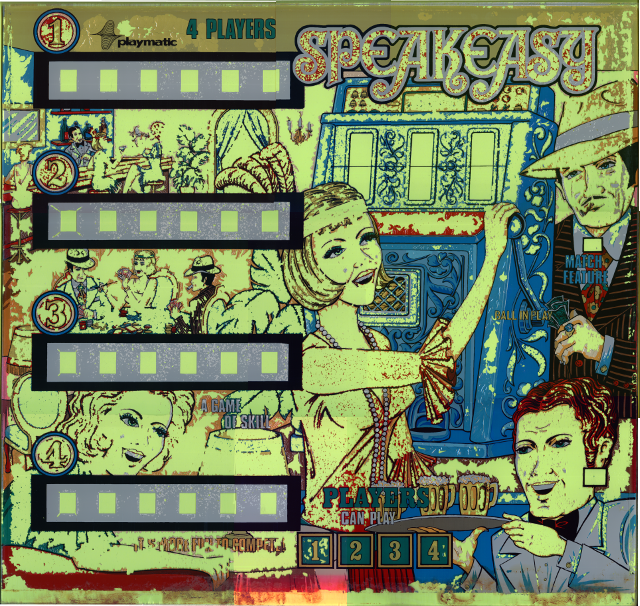
But mine looks like this against a yellow poster board, and after a little cleanup in GIMP (images link to xcf files, 919MB and 96MB currently ).
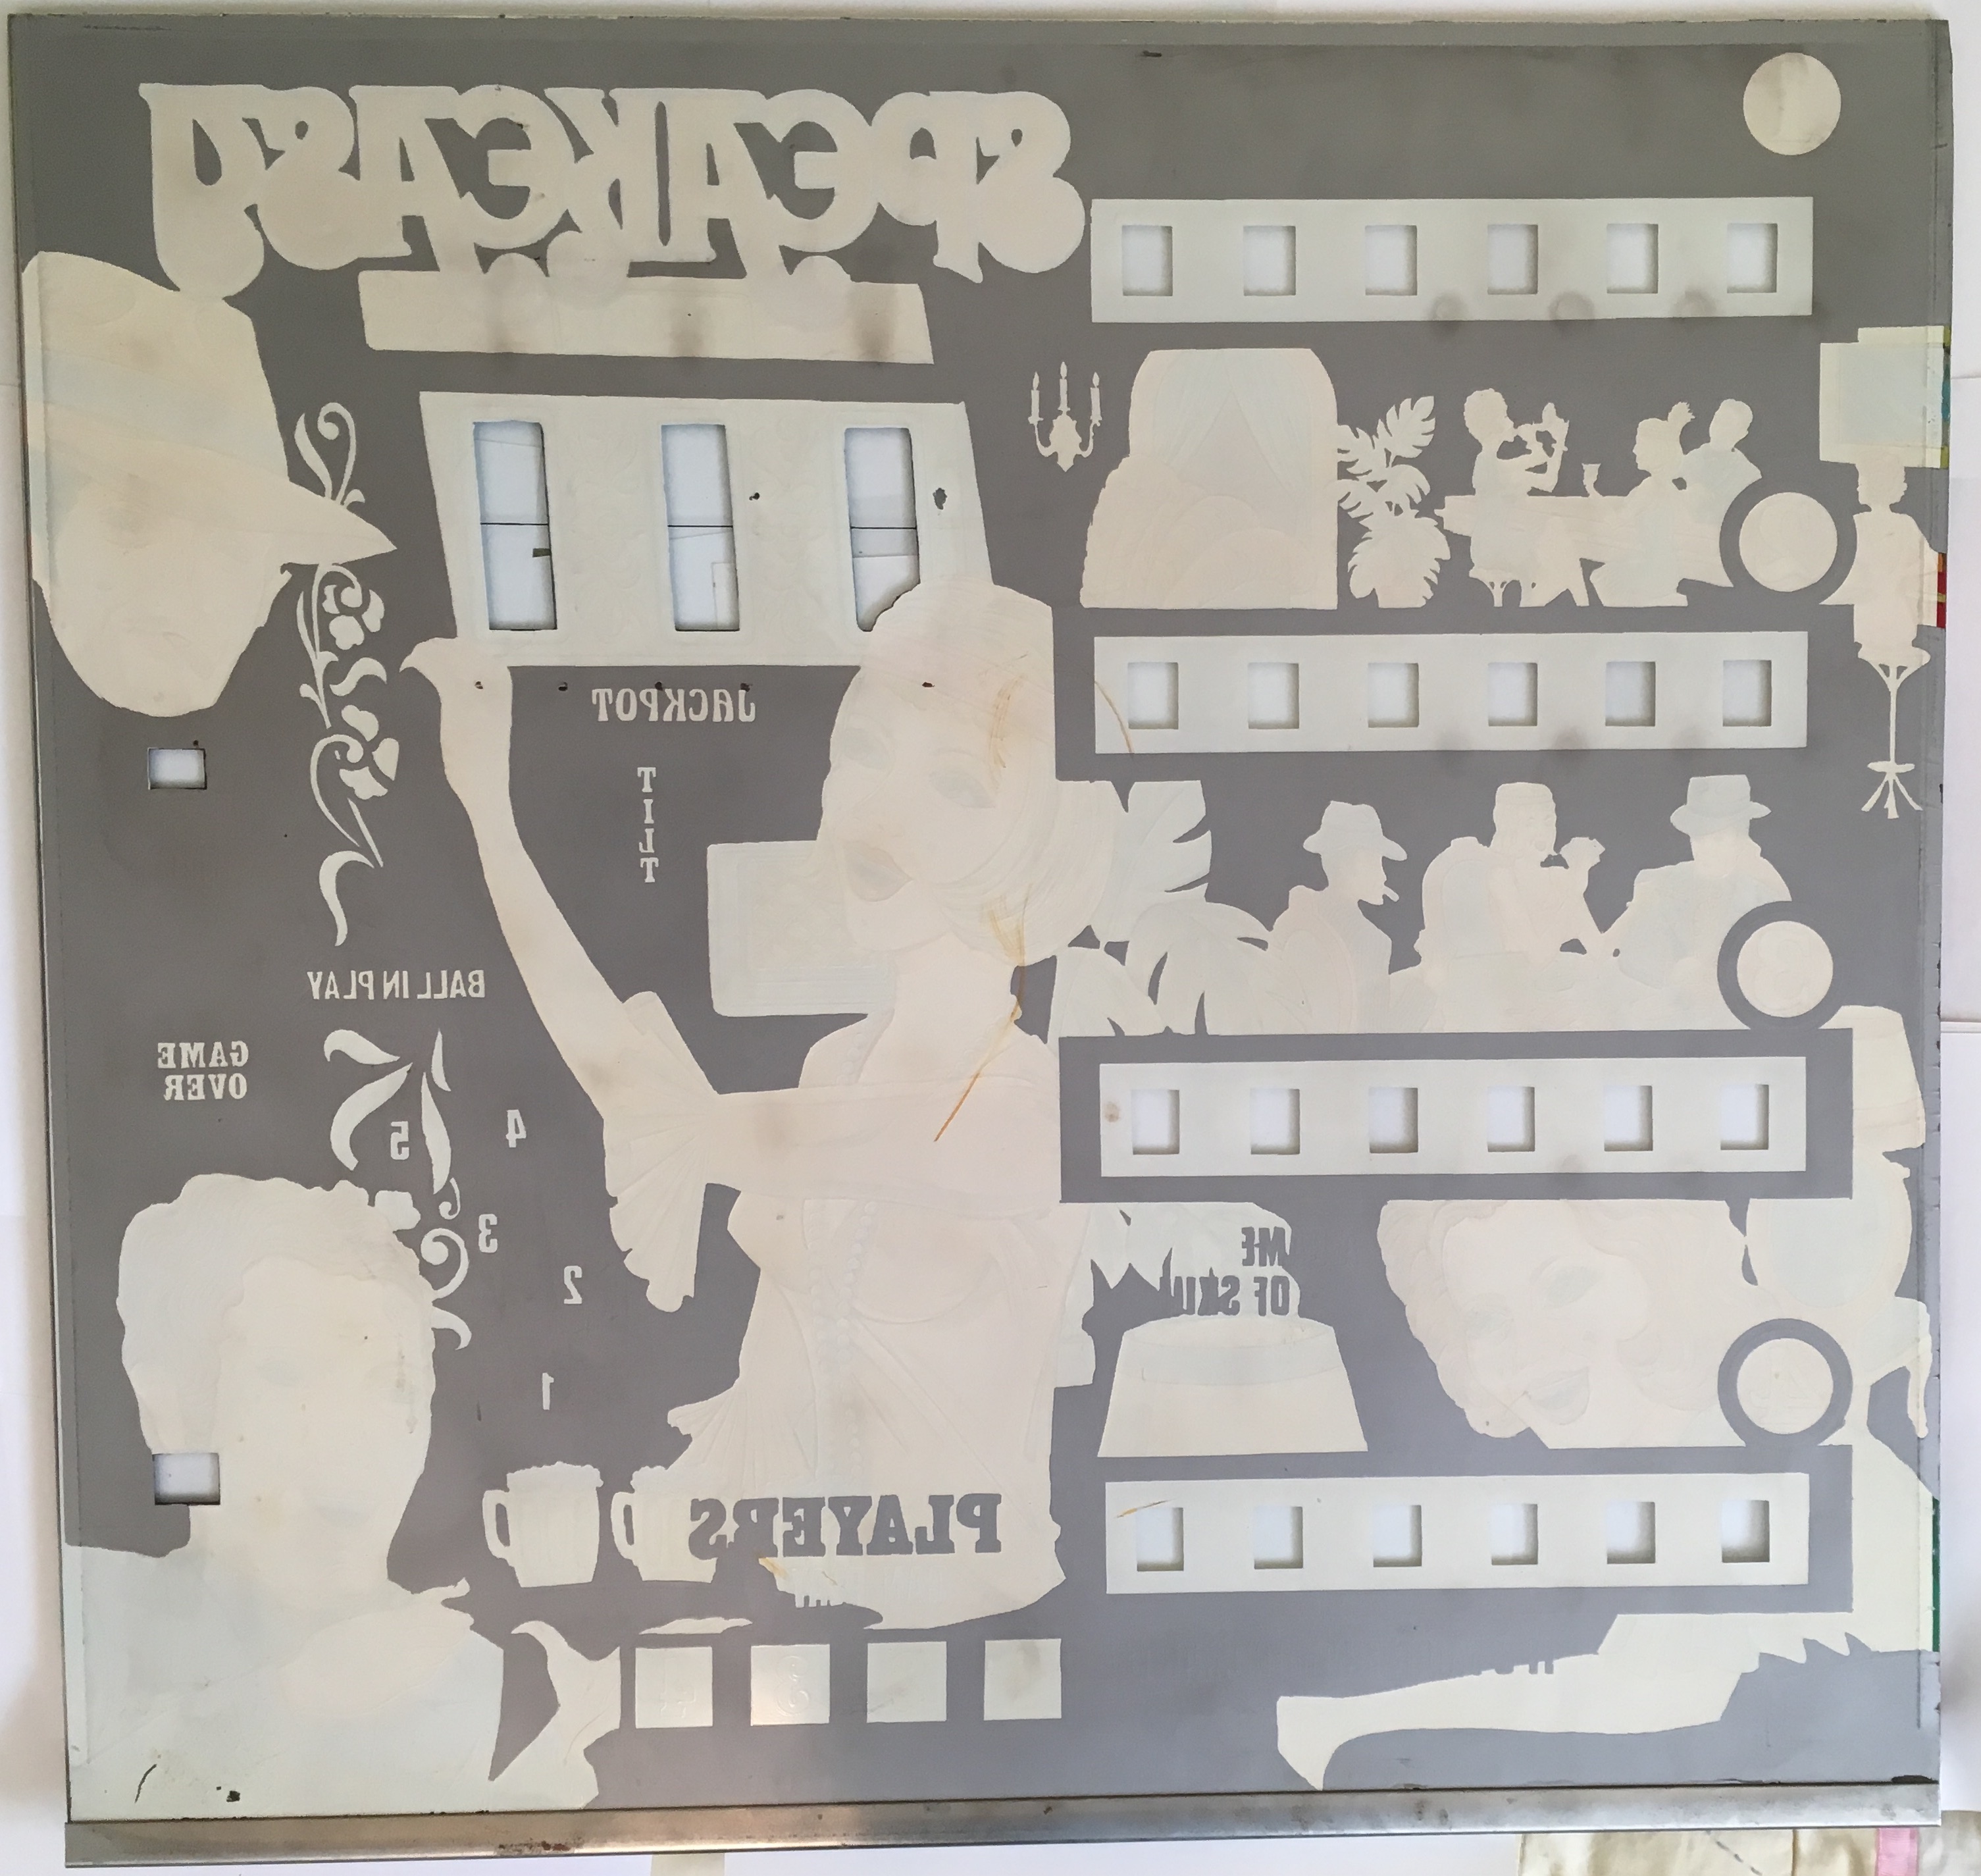
Way too much of the artwork is missing for my original plan. From reading other forums it sounded plausible to use water transfer decals to fill in the missing pieces. But the local printshop convinced me that the ink itself would cause uneven shrinking of the transfer medium and be difficult to match up at this scale.
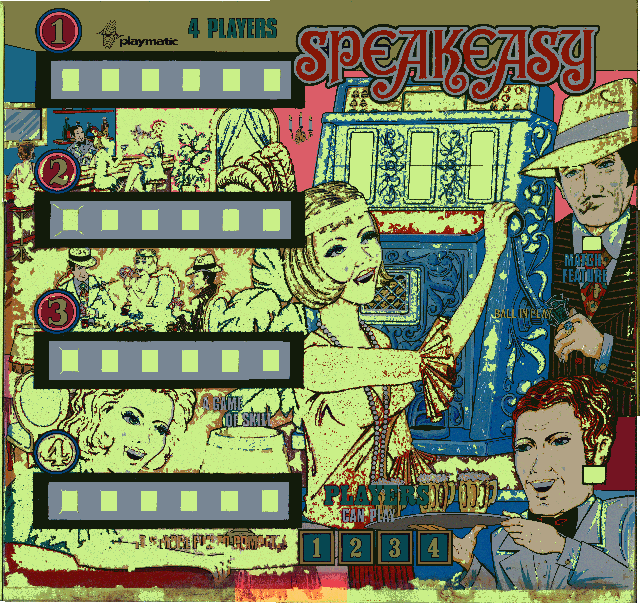 So I’m going to clean up the scan as best I can and sent it and the glass to BGResto.com I have not tried to correct the colors. I converted the above image from RGB mode to indexed. That alone made it a lot smaller. Once I get the colors in the palette below 16 I’ll copy the RBG values from reference pictures over.
As for the cleanup, I’m torn. Since the glass was originally made with a silkscreen process the individual color layers do not always line up. The numbers above the player scores and bottles behind the bar are good examples. I’m sure the original was perfect, but i kind of like the flaws in the process. So what to do…..
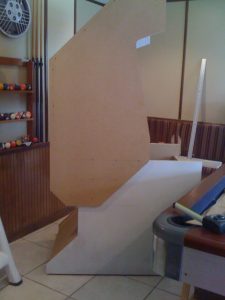
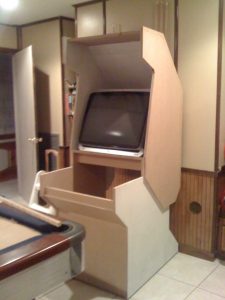
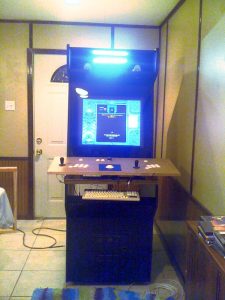
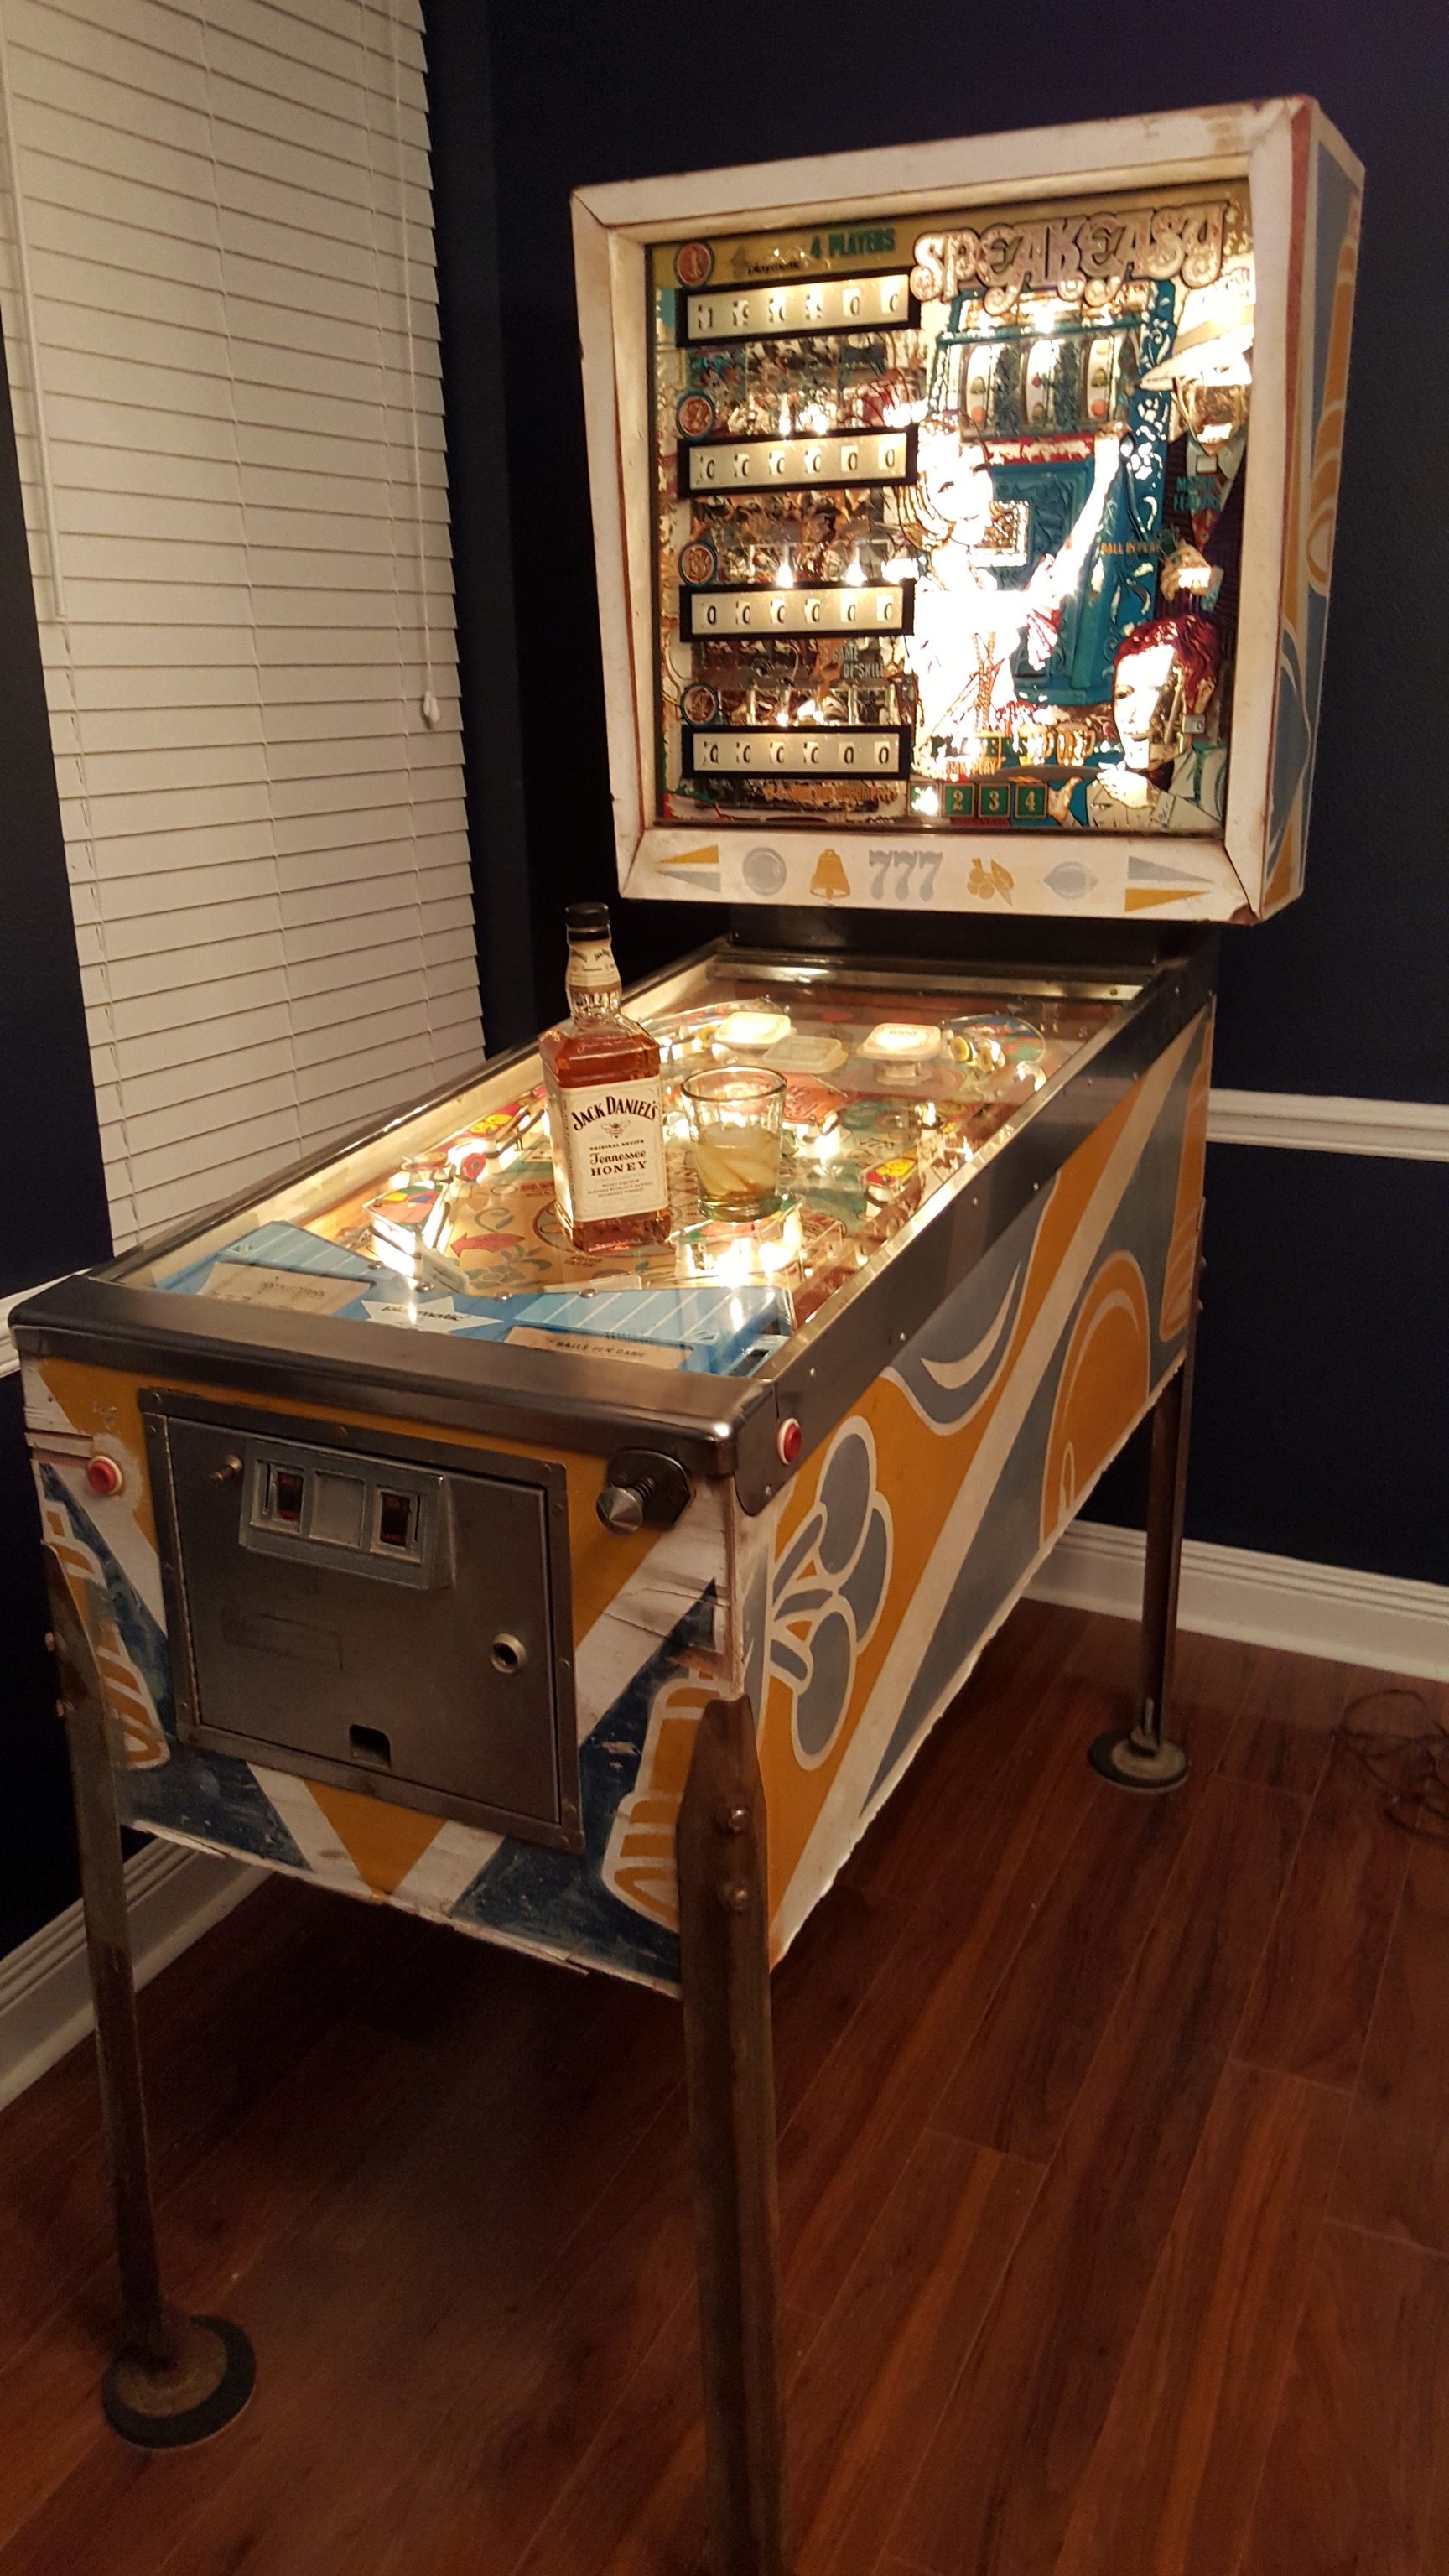
 7 years later, Still no artwork on the poor thing. My idea of a mosaic of Dirk the Daring made out of images from other video games did not look good unless you were really far away. Then Madeline wanted nothing to do with the idea of her in the middle with a karate gi surrounded by classic fighter characters 🙁 So here it sits. Played occasionally, but longing to be complete. This is why I’m starting with the backglass of the pinball. But its already playable too……